
This article teaches you how to manage the access rights to the data stored in 3DEXPERIENCE, and how to organize your files in folder-like structure with Bookmark Editor.
Introduction
Deciding how SOLIDWORKS design content will be organized, who can access it and when, is an important part of preparing the 3DEXPERIENCE platform.
This applies not only to large organizations implementing a formal release and change control process, but also to small design teams who are starting out using the basic revision and lifecycle capabilities.
Most users are used to windows' folders structure, and it's important to understand how to work with the Bookmark editor in 3DEXPERIENCE to stay organized.
Step 1: Manage access to collaborative spaces
1. Accessing collaborative spaces with 3DSpace
Definition: All files saved to 3DEXPERIENCE are stored in what is known as a collaborative space. A collaborative space allows you to control who has access to the content it contains.
Collaborative spaces are managed using the "3DSpace" application.

2. Creating a collaborative space
Tip: it is advisable to create collaborative spaces only when specific access control to the content is required. In general, one is enough! The more you create, the more complex it becomes.
You can create a new collaborative space by defining the title and description, as well as the visibility of the content for other users of the platform.


There are 3 types of content visibility:
1. Private - Content is only visible to members of the collaborative space. Recommended for projects where the design content needs to be limited to the people working on it.
2. Protected - Only content in the Distributed and Obsolete maturity states will be visible to all platform users within the company.
3. Public - All content is visible to all users within the organisation, regardless of maturity status. Recommended for standard parts and libraries.
3. Add members to the collaborative workspace
Select the collaborative workspace and add users.

Note: Each new user is assigned a role which determines their access rights to the collaborative workspace: adding new files, modifying existing files or viewing only. There are different types of role:
- Contributor: gives read-only access to files
- Author: allows users to modify their own files; they cannot distribute or delete the content of other collaborators
- Responsible: allows a user to distribute content
- Owner: allows a user to administer the collaborative space, in particular to add or delete users.
4. Advanced settings
- Option 1: By default, all users can create collaborative workspaces. This can quickly become cumbersome. We recommend limiting the creation of new collaborative workspaces to platform administrators. This behaviour is controlled by the "Allow all new users to create a collaborative workspace" option.
- Option 2: By default, the roles of Manager and Owner are combined. They can be separated using the "Associate manager and owner" option (recommended for large companies).

Step 2: Choose your collaborative space on SOLIDWORKS and 3DEXPERIENCE applications
On SOLIDWORKS :
 The choice of collaborative space is made when you save. So you can be sure that your files will end up in the space you want.
On CATIA and other applications :

The choice is made as soon as you open the application.
For more information on backup, see our articles: Basics of SOLIDWORKS Backup, Basics of CATIA Backup.
Step 3: Create folders to organise your files
1. Creating folders with Bookmark Editor Collaborative workspaces are not designed to be used as folders.
Bookmark Editor is the main application you will use. Bookmark Editor lets you create folders and subfolders, just like in Windows.

Tip: Bookmarks retrieve all references (there's a "+" icon next to the components), so there's no need to save ALL your components in the same bookmark. Just save what you need for quick access!
In general, this will be the root assembly, and any drawings.
2. Sharing folders with other users
Bookmarks in collaborative workspaces can be shared with other users. Simply right-click on a bookmark and share it.
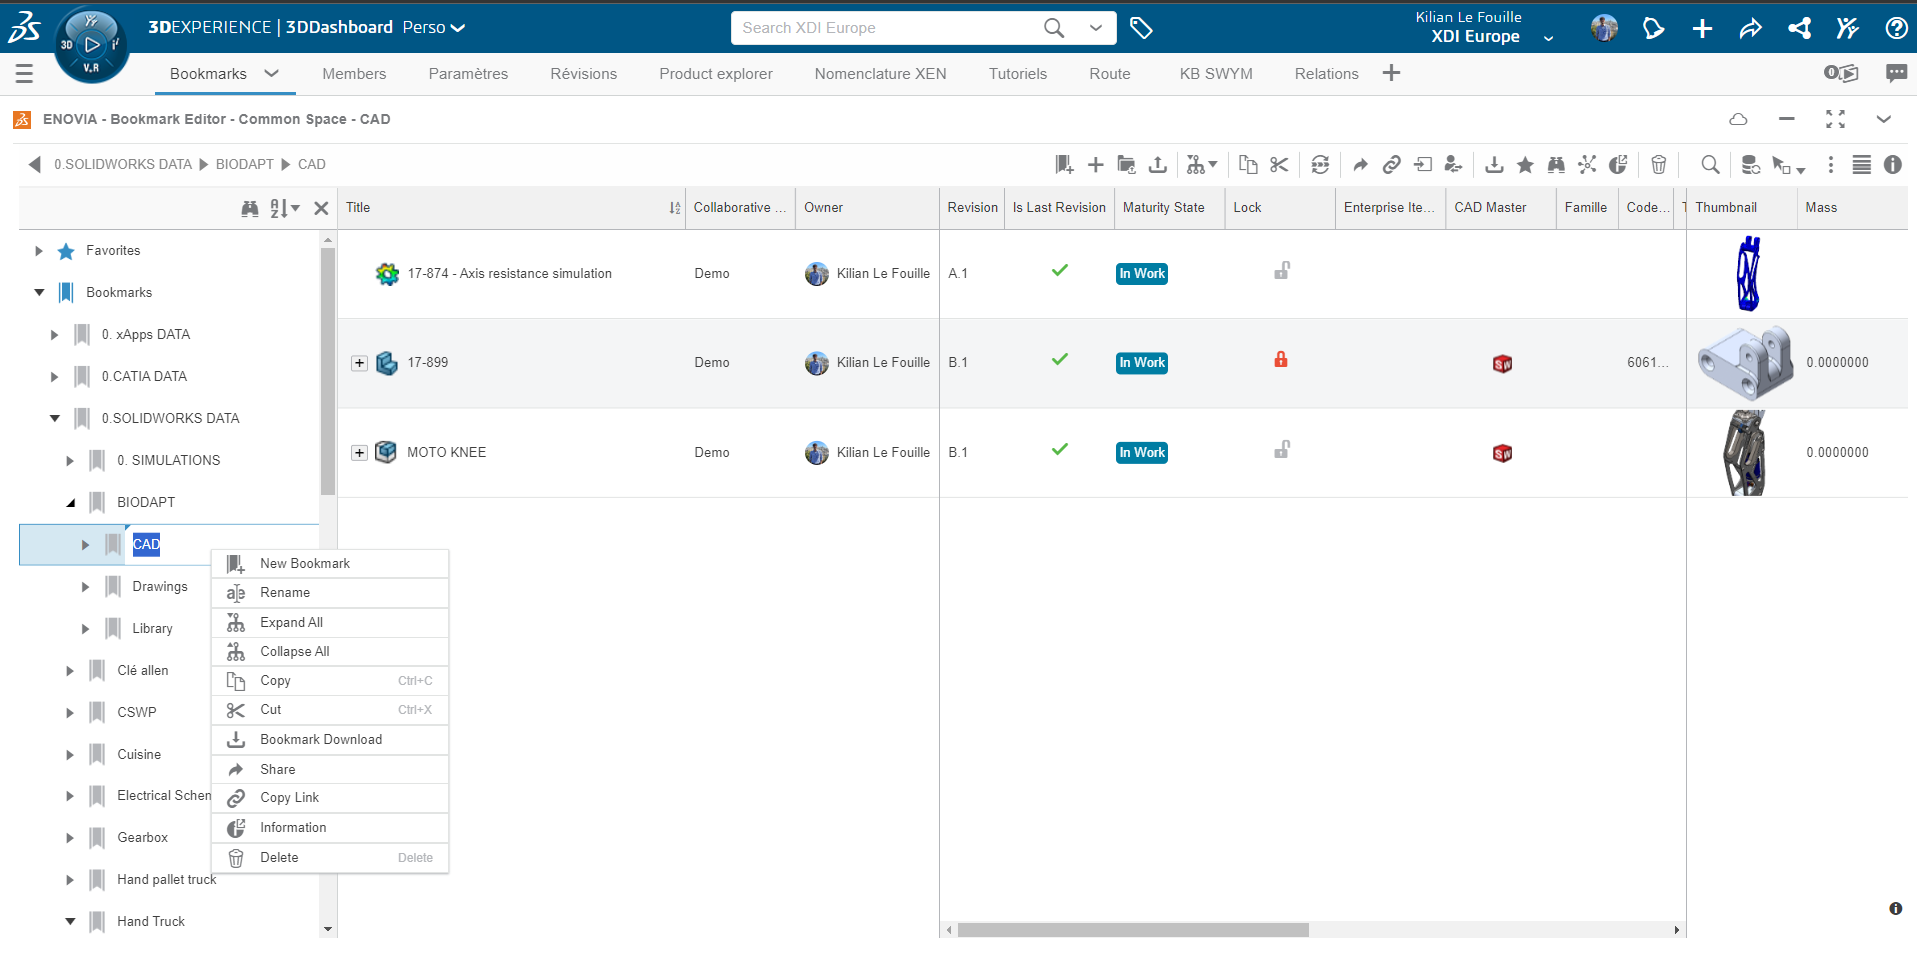
By default, new bookmarks are placed in the "In Work" state, which makes them visible to all members of the collaborative workspace.
To make a bookmark visible only to its creator, change the maturity status to "Draft" using the "Lifecycle" command in the bookmark editor toolbar.

3. Deleting bookmarks and files
The delete command is divided into two parts: Delete and Remove.

- Remove: the file will be removed from the bookmark, but it will still be present in the collaborative space where it was saved
- Delete: the file is removed from the bookmark and its collaborative space
These two commands can also be applied to bookmarks. However, if a bookmark contains a file used in other places, deletion will be blocked, so you will need to use the 'Remove' command.
Summary
It is essential to organise and control access to your content.
Collaborative spaces manage security and access, while bookmarks offer a familiar organisation of design content in the form of a folder.
It is not necessary to save all components in the same bookmark, simply use the "Expand structure" button to navigate and open the structure.